Planning to photograph the Formula 1 Australian Grand Prix? Discover why the Webber Grandstand is a great choice for photography, what focal lengths work well at Turn 11, and how an elevated seat can help you get clean shots above the catch fencing at Albert Park.
Why I Chose the Webber Grandstand for F1 Photography
When photographing the Formula 1 Australian Grand Prix in Melbourne, choosing the right seat can make a significant difference — particularly when it comes to shooting angles and catch fencing.
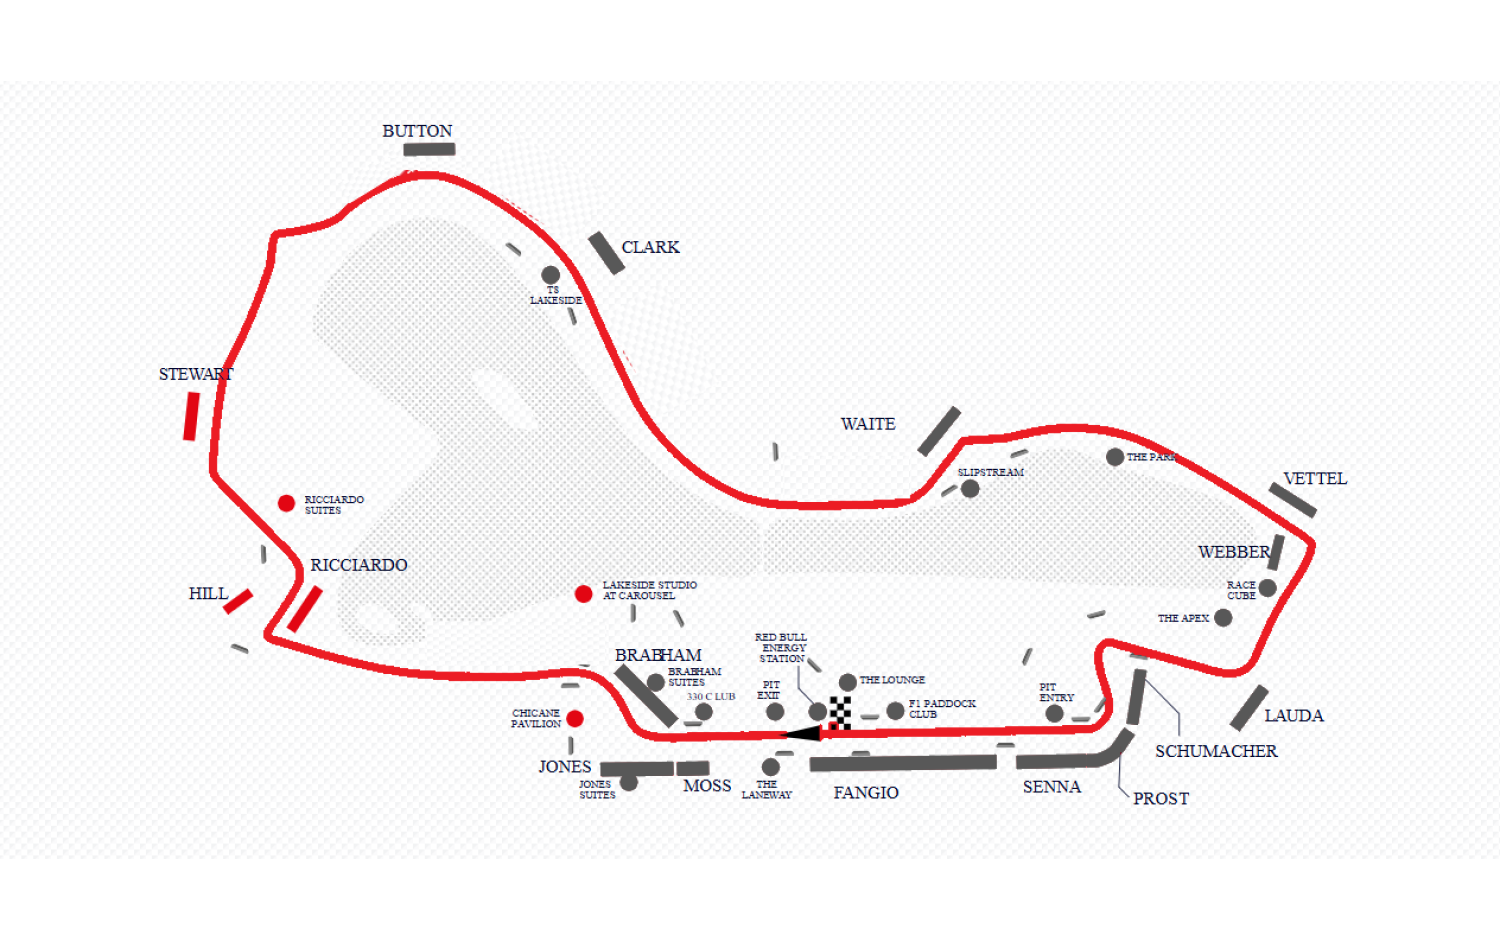
This year, I chose the Webber Grandstand, and I couldn’t have been happier with the decision. Positioned at Turn 11, a relatively low-speed corner, it provides excellent opportunities to photograph the cars from different angles and makes panning shots much easier than shooting cars travelling flat-out along a straight.
As the cars approach the corner, I could capture frontal and three-quarter views before following them into more side-on compositions. This gave me enough time to acquire focus, track the car and prepare for the shot rather than reacting to a car appearing in the frame for only a fraction of a second.

The Back Row Made a Big Difference
One of the most important decisions I made was choosing a seat in the back row of the Webber Grandstand.
The additional height gave me a shooting angle that was clearly above much of the catch fencing. Instead of trying to photograph through the fence and relying on a long focal length and wide aperture to make it disappear, I could achieve much cleaner, largely unobstructed views of the cars.
For photographers, this is an important consideration when choosing F1 tickets. The grandstand matters, but the row can matter just as much.
A lower seat in the same grandstand may have a very different relationship with the catch fencing, so I wouldn’t assume that every seat in the Webber Grandstand provides exactly the same photographic opportunities.quality and clarity, especially if you’re shooting with telephoto lenses.
Best Lens for F1 Photography from the Webber Grandstand
For the Webber Grandstand, a 200mm lens is more than sufficient. The cars come fairly close, and the corner layout means they aren’t zipping past at 300 kFor the event, I used a Sony A7R V with the Sony FE 70–200mm F2.8 GM OSS II.
From my position in the Webber Grandstand, I found the 70–200mm range extremely practical. It gave me enough flexibility to photograph the cars at different points through the corner without constantly changing lenses.
For tighter photographs of individual cars, I frequently shot at around 200mm. From the back row, this already provided enough reach for the compositions I wanted.
This was particularly useful because it meant I didn’t need to rely on a much larger 300mm or 400mm lens. Longer lenses could certainly be useful from other locations around Albert Park, but from this particular grandstand, I rarely felt limited by 200mm.
The 61-megapixel resolution of the A7R V also gave me plenty of flexibility to crop afterwards while retaining a high-resolution final image.
For anyone planning to photograph F1 from a similar position, a 70–200mm lens is a very capable and versatile option.

Camera Settings for F1 Photography
My camera settings depended mainly on whether I wanted to freeze the car or create a stronger sense of speed through panning.
Freezing the Action
For sharp action photographs, a fast shutter speed makes it considerably easier to freeze the car.
A shutter speed around 1/2000s or faster is a useful starting point, particularly for frontal and three-quarter compositions where completely freezing the car works well.
I used continuous autofocus (AF-C) and continuous shooting so I could acquire focus before the car reached my preferred position and continue tracking it through the corner.
Panning at 1/250s
For panning shots, I reduced the shutter speed to around 1/250s.
At 200mm, I found 1/250s to be a good balance. It was slow enough to introduce noticeable motion blur into the background while still giving me a reasonable chance of keeping the car sharp.
The result creates a much stronger impression of speed than completely freezing both the car and the background.
The technique itself also matters. I began following the car before pressing the shutter, maintained a smooth movement while shooting, and continued following the car afterwards rather than stopping the camera as soon as the shutter fired.
Slower shutter speeds such as 1/160s or 1/125s can create even stronger motion blur, but the keeper rate drops quickly. For me, 1/250s was a practical balance between motion and sharpness.
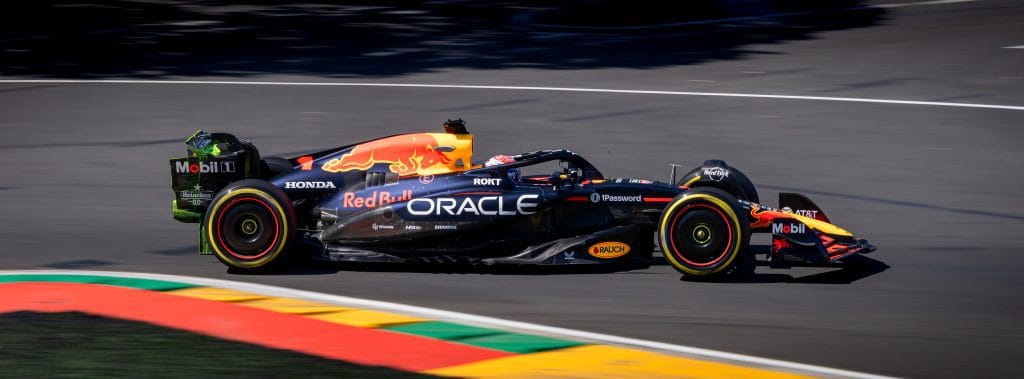
Afternoon Light at the Webber Grandstand
The Webber Grandstand worked very well for photography, but there was one disadvantage worth mentioning.
On a clear afternoon, the shooting direction can become somewhat backlit.
This creates stronger contrast on the cars and can make exposure more difficult, particularly with bright or reflective bodywork. Depending on the position of the car, highlights can become very bright while other areas fall into shadow.
It wasn’t enough to outweigh the advantages of the grandstand, but it is something I would consider when deciding which sessions to prioritise for photography.
Softer or slightly overcast conditions can actually be easier to work with because the light across the cars becomes much more even.
Quick Recap for F1 Photography at Albert Park
If you’re planning to photograph the Australian Grand Prix at Albert Park, these are the three things I found most useful from my experience at the Webber Grandstand:
- ✅ Choose a slower corner like Turn 11 — the reduced speed makes the cars easier to track and gives you more opportunities for panning shots.
- ✅ Aim for a back-row or higher seat — the extra elevation can give you a much cleaner view over the catch fencing.
- ✅ A 70–200mm lens can be enough — from my position, 200mm provided plenty of reach for tight shots of individual cars without needing an ultra-telephoto lens.
See you trackside next year! 🇦🇺